
Thinking of creating a site? When it comes to putting a page online, in addition to having a website fast, you need to have one page layout visually pleasing, objective and organized. But, do you know how to do this?
If your answer was negative, we have good news for you! With the right tools, you can create a good layout without needing much technical experience and that's what we're going to talk about today.
Before the step by step, a quick checklist helps keep the layout truly simple and focused: set clear hierarchy (headline, supporting text, primary action), keep spacing consistent, and validate readability with minimum contrast between text and background. This reduces visual noise and improves the experience, especially on mobile.
How to create a simple and objective layout in Figma
To publish a page with a visually pleasant, objective, and organized layout, it helps to keep the focus on simplicity. Prioritize a clear hierarchy with title, subtitle, and action, use consistent spacing, and validate readability with minimum contrast between text and background, especially on mobile. With the right tools, you can create a good layout in Figma without needing much technical experience. From there, the process continues with choosing the frame, using guides, adding objects, plugins, text, and exporting.
-
Prioritize a clear hierarchy with title, subtitle, and action.
-
Keep spacing consistent to reduce visual noise.
-
Validate readability with minimum contrast between text and background.
-
Use frames and pre defined formats to start the layout in Figma.
-
Export frames or layers by defining format and quality on the right panel.
Keep reading this post and find out step by step how to use the Figma to create a simple and objective layout. Come on?
Before building a good layout, it is important to understand what it is. Therefore, if you have never used the Figma, do not worry that we are here to introduce you, okay? Next, let's talk more about the program and its advantages.
What you will see in today’s content
-
Why a layout needs to be visually pleasant, objective, and organized.
-
A quick checklist to keep the layout simple, with hierarchy, spacing, and contrast.
-
What Figma is and how it works in the browser and on desktop.
-
Team collaboration in Figma and its relation to UX Design.
-
Figma advantages, including a free plan and real time collaboration.
-
Auto layout to adjust measurements and avoid misalignment.
-
Integrations with other platforms and team management with permissions.
-
A global community with plugins and templates.
-
A step by step to create a layout from scratch, from frame to export.
Good reading!
What is Figma?
Focused on interface and design creation, Figma runs in the browser and also offers desktop apps
for those who prefer a more native experience on macOS or Windows. This way, you can choose the setup that best fits your routine without changing the core workflow of shareable, collaborative files.
Launched in 2016 by Dylan Field and Evan Wallace, Figma offers free and paid plans, and even in the free version, professionals have access to several features.
Another great differential of the platform is the possibility of collaboration. Figma allows your team to work together on the same project simultaneously and, therefore, has become a rage among some sectors, such as, for example, in the area of UX Design.
If you’re not familiar with UX Design, a widely accepted definition is user experience, which covers all aspects of the end user’s interaction with a company, its services, and its products. That helps explain why “layout” isn’t only aesthetics, but also clarity, flow, and ease of use.
In short, the ux designers aim to develop a website or application focused on user experience.
That is, the professionals responsible for designing a page that is simple to navigate, where the customer will not have difficulty finding a product or service and, in this case, Figma can be an important ally.
And since we are talking about practicality and collaboration, these are not the only differentials of the platform. Figma arrived to facilitate your creations and in the next topic we will talk about some of its advantages.
What are the advantages of Figma?
Figma has a free plan and works great in the browser, with real time collaboration. Still, some features and permissions vary by plan and seat type, so it’s more accurate to describe it as a “free plan” rather than “completely free” in every scenario.
Below, we have gathered some of the main advantages of Figma.
Read too:
- Relationship ruler: 5 best practices for relationships with students
- 4 tips for audiovisual production of digital content
- What is a diagnostic evaluation in marketing strategy
Auto-layout resource:
If you're used to creating designs for different platforms, you know that adapting measurements can take a lot of time. But, with Figma's auto-layout, that problem can come to an end! The platform itself makes this measurement adjustment, maintaining the current sizes and avoiding misalignments.
It allows several integrations:
With Figma, that huge bureaucracy to integrate your projects has come to an end! The tool enables integration with several other platforms, such as: Confluence, Slack, Axure, Maze, Notion, among others.
Allows team management:
When creating a layout or a beautiful design, it may not be easy to organize your entire team, is it? But with Figma, that could change! In addition to enabling collaborative work, within Fgma, it is possible to create different teams and establish permissions for each user.
Access the global community:
Another big advantage of Figma is its global community. Through it, users can exchange experiences, gain new insights and publish various contents, such as: plugins, templates, among others.
Step by step to create a Layout in Figma
After creating your account on the platform and selecting the best plan for your team, it's time to take the next step: building your layout. Want to know how to do this? Next, we explain how the platform works and step by step how we can create a layout from scratch in Figma, without having to have a lot of technical experience.
Know the platform
To start your creation process, you must click on “New Design File”. Soon after, you will be directed to your file page. In the left corner, you can see a tab titled “layers”. It is in this part where all your graphic elements (images, texts, shapes) will be separated and organized in layers.
When selecting a layer, you'll have access to a menu on the right side of your screen, where you can edit its elements, from positioning, color, effect or even the font.
Meanwhile, in the top menu, you have at your fingertips several functionalities such as: creation of texts and shapes. Knowing these elements, it's time to create your layout. Come on?
1 step: choose the type and size of the project
To start your project, you must create a frame, that is, a frame to assemble your layout. To do so, just press the F key or click on the top menu.
When selecting the frame, Figma will present several predefined formats for your project, such as measurements of a cell phone screen, desktop, tablet and for social networks.
In case you have difficulties in knowing the correct measurements, this tool can make the process a lot easier. Just choose one and start working.
Remembering that, although Figma has predefined sizes, you can still customize it as you prefer.
2 step: add a grid
That's it, now that you've chosen the size of your design, it's time to add a grid to your project. But, after all, what purpose does this element serve? By including the grid in your frame, you'll have a kind of guide to develop your layout, making it easier to align objects, measure and organize your page.
To add layout guides, select the frame and look for layout guides in the properties panel on the right. This is a visual alignment aid and it’s different from the auto layout “grid,” which is used for responsive behavior.
3 step: insert objects
It's time to bring your layout to life with objects and shapes! To do so, just access the menu at the top of Figma, where you can access all the quick tools.
As the platform is very intuitive, these tools will be represented by elements. Then it won't be difficult to find what you are looking for. For example, if you want to add a rectangle, know that the shapes tab has no name but an illustration of geometric elements, as in the image below.
Knowing this, let's put our hand in the dough? If you are developing a main page, start by creating a rectangular shape for the menu. After creating the bar, insert other shapes that will represent the buttons.
Put as many as necessary according to the contents that will be on your main page. But, remember not to pollute too much, okay?
After inserting an object, you can still modify the color, size, position and even apply effects. Just select it and on the tab on the right side, you will have access to its properties. In the example below, the Layout started to be assembled using only rectangular shapes.
If you want the page to adapt well across screen sizes, apply auto layout to your main sections (nav, hero, content blocks) and keep padding and alignment consistent. That way, when content changes or width varies, elements reflow with far less manual work.
4 step: add plugins
And it's not just formats that build a good layout. To customize and make it more attractive, it's time to add some Plugins. Figma's own platform already offers several contents and we recommend that you download some decorative elements.
To use plugins, open the plugins menu inside your file and search Community options. In organizations with security controls, some plugins may require admin approval, so if you can’t find them, it’s worth checking plan, seat type, and org permissions.
Soon after, several Plugins options will appear, such as icons, images and texts to customize your layout.
5 step: insert texts
It's time to add information about your company and add the texts to your Layout. But, calm down, this is no mystery. In fact, this step is similar to adding objects.
You will have to click on the text element in the top menu, select the place where you want to add it and that's it, just write now. To modify size and color, just click on the text and modify it in the bar on the right side of your computer.
Remember that there are text plugins available in Figma, so you can improve your website font.
6 step: it's time to export
To export, select the frame or layers you want to save and use the Export section in the right sidebar to choose format and quality. If you want to export everything on the current page, keep the canvas deselected and adjust the available export options in the panel.
Then, just select the format and quality in which you want to save your layout, and that's it, all yours.final product will be downloaded. Now your design made from Figma is finalized and can be implemented inside your tool.
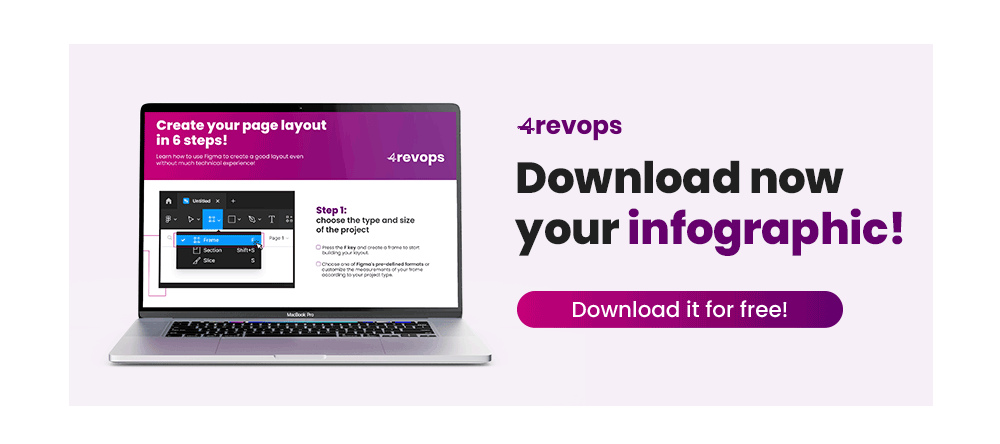
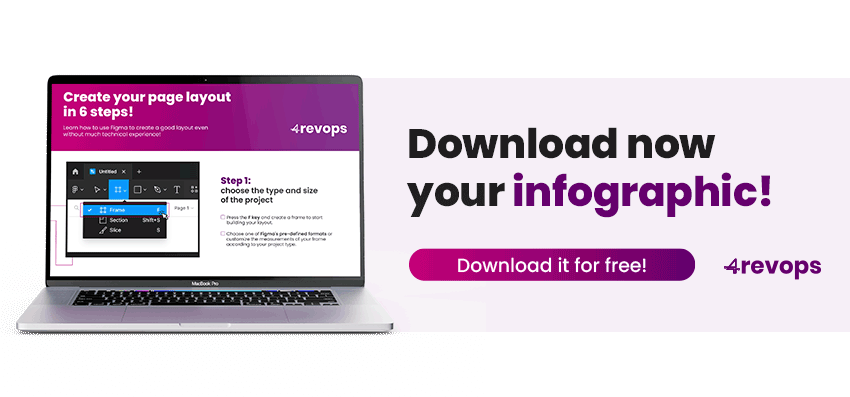
Did you like the content? For you to put it into practice and start creating your Layout in Figma, we have prepared an infographic with a detailed step by step. Click the link below and download it for free now!
Frequently asked questions about layout in Figma
What is Figma?
Figma is a tool focused on creating interfaces and designs that works in the browser and also offers desktop apps on macOS and Windows.
Does Figma have a free plan?
Figma provides free and paid plans, and even in the free version there is access to several features, with limits that vary according to what the team needs.
Does Figma allow team collaboration?
Figma allows a team to work together on the same project simultaneously, with real time collaboration.
What does UX Design mean?
UX Design is the user experience, which covers all aspects of a person’s interaction with a company, its services, and its products.
Why is a layout not only about aesthetics?
A layout is not only about aesthetics because it also involves clarity, flow, and ease of use, helping create a page that is simple to navigate and where it is easier to find a product or service.
What is auto layout in Figma?
Auto layout is a feature that helps adjust measurements, keep current sizes, and avoid misalignment, making it easier to adapt a design to different platforms.
How do you start a project in Figma?
To start, click “New Design File” to create a file, use the “layers” tab to organize elements into layers, and edit properties in the right panel.
How do you choose the layout size?
You can create a frame by pressing the F key or using the top menu, choosing pre defined formats for mobile, desktop, tablet, and social media, and still customizing as you prefer.
What is the purpose of adding a grid or layout guides?
Adding layout guides to the frame creates a visual guide to align, measure, and organize elements, and it is different from the auto layout grid, which is for responsive behavior.
How do you insert objects and keep the layout organized?
You can insert shapes and objects through the top menu and then adjust color, size, position, and effects in the right panel, avoiding cluttering the page too much.
How do you use plugins in Figma?
You can open the plugins menu inside the file and search options in the Community, noting that in teams with security rules some plugins may require admin approval.
How do you add text to the layout?
You select the text tool in the top menu, click where you want it, and type, adjusting size and color in the right panel, and you can also use text plugins.
How do you export a layout in Figma?
To export, select the frame or layers and use the Export section on the right panel to define format and quality, or leave the canvas with no selection to adjust options and export everything on the page.